This was the first Mk1.5 conversion project I was involved with and obviously as such I documented it the best (to help as a reference with any further projects).
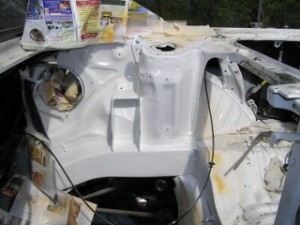 The process of the engine conversion is detailed on TwoBrutal, where Paul Woods did the first UK conversion. Briefly: First requirement is to remove the 4AGE/C52 left and right engine and gearbox mounts and weld in replacements suitable for the 3SGTE and its gearbox. In addition a cutout is required in the rear bulkhead between engine bay and boot for the inlet manifold.
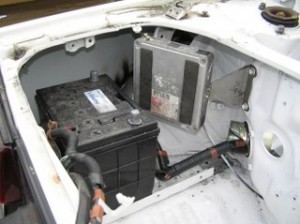 The 3SGTE engine with all its ancillaries fills the Mk1 engine bay and therefore the battery and the intercooler need to be ftted elsewhere. The battery can either be mounted in the boot or in the frunk, but the intercooler really has nowhere else to go other than the boot. An alternative is obviously to fit a charge cooler.
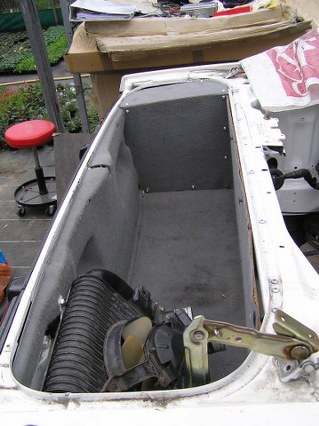 If the car is to be used as a roadcar, a reasonable proportion of the volume of the original boot can be made available for it’s original purpose. In this instance the battery was placed in the boot (it can be placed in the frunk if required) and panels made and upholstered to tidy up the installation.
The intercooler is shown unboxed in on the right hand side of the boot. It can be boxed in similar to the battery and ecu installation. The intercooler obviously requires a cold air inlet and a hot air outlet, more about that later…Once all the preparation work was done in the engine bay and boot it was time to fit the engine.
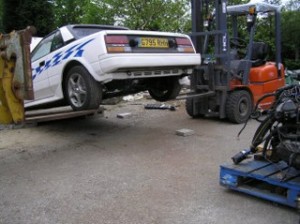 This is one way to install an engine!. One forklift truck to lift one wheel, another forklift truck to lift the other wheel, and a 3SGTE on a pallet with a pallet truck ready to wheel it in. Works really well !
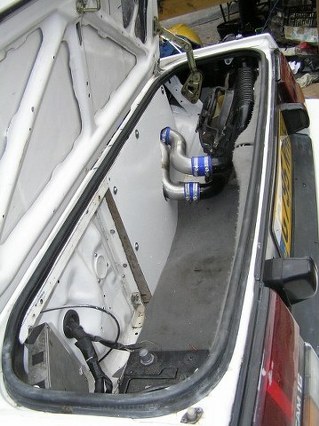 As mentioned previously there is insufficient room to fit the intercooler in the engine bay. However a replacement bulkhead can be manufactured to remake the bulkhead to divide the engine bay and boot once again. The intercooler can then be boxed off in a similar way to the battery and ECU. Obviously ducted airflow is required into the intercooler and a vent is required to exhaust the warm air flow. I used the existing cold air inlet duct for the original air system to feed in and a discrete exit scoop was made for the bootlid. The intercooler pipework is made from 316 Stainless steel weld fittings.
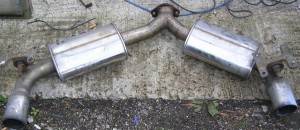 Next was the exhaust system. This is the original aftermarket backbox system that was supplied with the 3SGTE engine. This won’t fit on a Mk1, and the some surgery was required to make it fit somehow as a deadline for a paid trackday was looming…
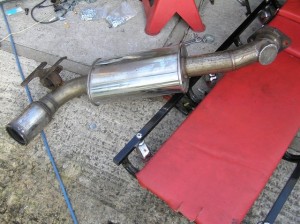 The left hand backbox would fit without modification, so the right hand was chopped off and blanked off. It was a calculated risk whether this would pass noise test at the trackday but we went for it..
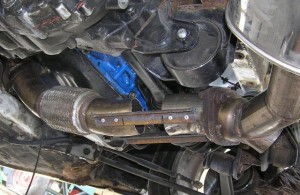 Once the backbox was fitted with a new fabricated bracket and hung in place it was time to sort out the rest of the exhaust system. The Mk2 system was cut away and angle was rivetted to the two sections where the transition would be required.
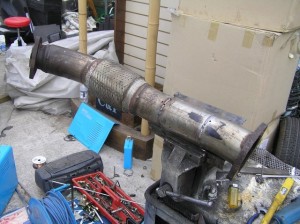 And here is the transition section partially welded.

